Direct Ink To Paper
- A Tutorial -
using Color Me Papers
For this Direct Ink To Paper Tutorial, I am using some paper and ink I received in the Paper Wishes Personal Shopper Kit for May 2011. In the kit we received some Paper Wishes "Color Me Paper" and two ink pads Page Craft brand from
Clearsnap.com.
I received the Lilac and Violet inks and some of the kits received green inks. These inks, as are all the Clear Snap inks, perfect for Scrapbooking. They are Acid Free, Archival Quality, Faster Drying Pigment Ink.
The particular Direct Ink To Paper Tutorial uses "Color Me Paper" which is basically white with a design embossed in white. The paper is made so you can ink up the white paper portion and the White Embossing resists the color and will still show through. There are several designs available from Paper Wishes.com in 12 x 12 inch, and some in 8 1/2 x 11 inches. There is also some with Gold Embossing.
The name of this design is Color Me - Medallions
The designs for these layouts came directly from the Personal Shopper Newsletter and CD. I simply inked the papers and put the layout together according to their instructions.
Check out our store for the Color Me Papers
These papers can be purchased separately with either white or gold embossing; in Sample packages of 6; packages of 12 with 2 of each of 6 designs; in kits with assortments of Inks or in packages of 25 - all in the same design.
For this particular process you will need a Pigment Ink. If you try to do this with an ink that requires heat to set it, you might possibly damage the embossing, which reacts to heat.
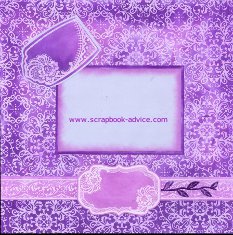
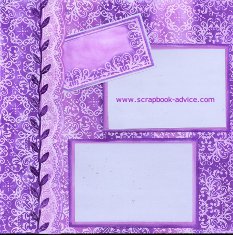
Above is a finished set of layouts I just completed.
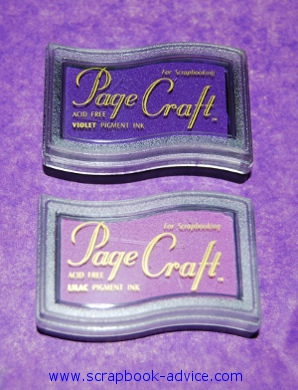
These are the 2 Ink Pads and a little ink applicator that I like to use. I received mine from
ClubScrap.com.
But Clear Snap has a
Stylus Set
as well, with foam applicators. The stylus also attaches to the Cats Eye Ink Pads.
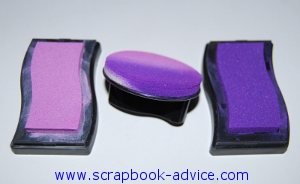
It is not necessary to use any of the applicators for the Direct Ink To Paper Tutorial, but I do for several reasons.
First of all, the applicators protect the ink pad itself and keep it from getting roughed up or torn while I am applying ink directly to paper.
Second, if your ink pad is a dark color, new or juicy, it will sometimes leave a mark that is difficult to blend out. Using the applicators prevents the marks from being so defined.
Third, using one of the applicators helps to keep ink off my fingers. Often after I finish working with ink my hands are a virtual rainbow of colors.
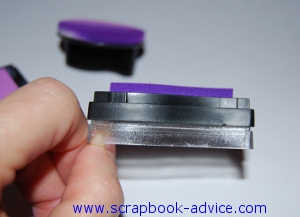
Here you can see that I have taken the clear cover off the ink pad and snapped it into place on the bottom of the ink pad. This also provides a little more room to hold the ink when using it to apply Directly to Paper.
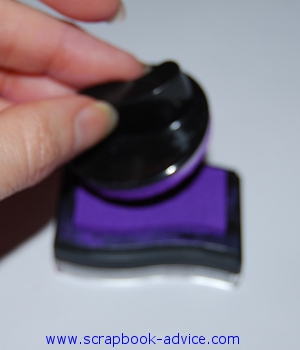
Here I have put some ink onto the applicator by pressing the applicator to the pad.
Scrapbook-advice.com Tip: Have 6 or so applicators, one for each color family. These are large enough that I could use 2 colors in the same family, on the same applicator.
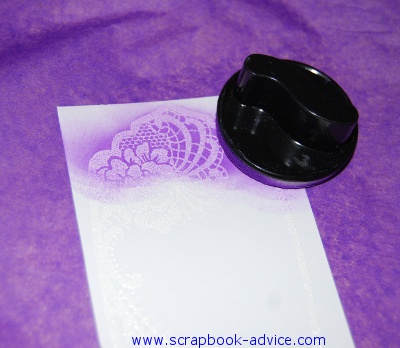
Gently rub the applicator (or your ink pad) in a circular motion, directly onto the paper. This is just a tag of the Color Me Paper that I am using for the Ink Direct to Paper Tutorial.
I always like how the design on the paper just comes to life when the color is applied.
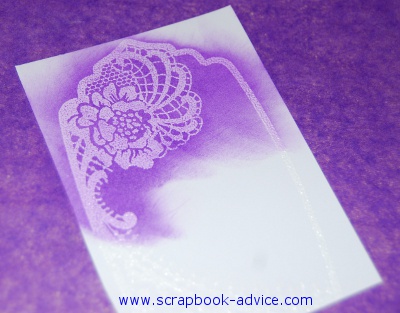
Here I have completed inking with the Lilac Ink.
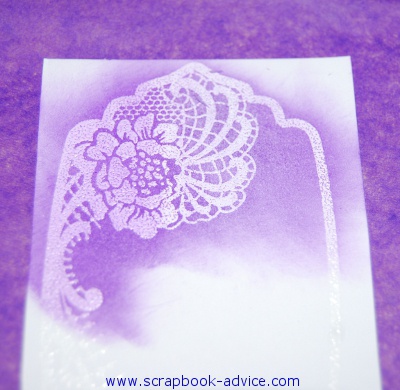
Next, I took a tissue (or paper towel) and wiped the ink off the White Embossing (before it dried). If you look closely, you can see where I have done this with the right half of the tag.
My Ink dried a little more that I wanted as I was busy trying to snap some photos. Scrapbook-advice.com Tip: If you are doing a large piece, like the layouts at the top of the page, Ink in sections, then wipe, then ink, the wipe again, until your page is finished.
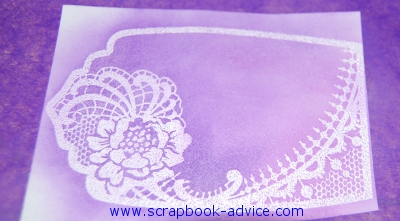
Here I have inked the rest of the tag with the Violet ink, blending the two colors together and making sure the edges of the tag just outside the border were inked also.
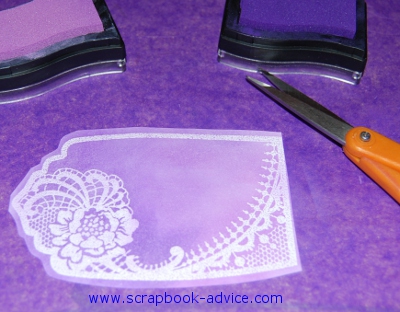
To Finish up the Direct Ink To Paper, and now that the edges of the tag are much more visible, I used some small fine-point craft scissors to trim around the tag. In this case I decided to leave about 1/8 inch of the inked portion on the outside of the white border.
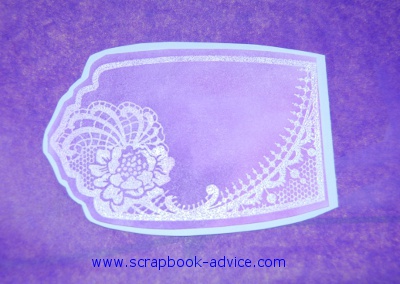
Then I matted the tag onto a piece of white card stock and trimmed around that, giving the finished tag a look like it is double matted.
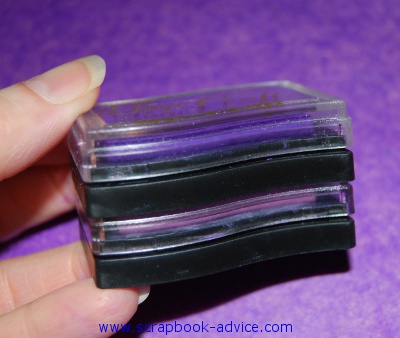
Another Scrapbook-advice.com Tip: These ink pads will also snap together top and bottom for storage.
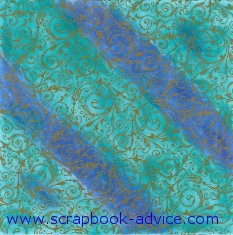
Here is some more background paper, done with Blue and Green Ink Pads with a diagonal stripe pattern following the Direct Ink To Paper Tutorial. This background will be used for a photo of me and my mother - the paper matches the blue and green flowered dress she had on. Scrapbook-advice.com Tip: This is a great way to highlight a special photo and match the colors in the photo exactly. This particular piece of the Color Me Paper has the Gold Embossing and the pattern is called Gold Swirls.
Here are two layouts done with Direct to Paper Technique, but with Chalks, in Blue, Pink, Green and Yellow.
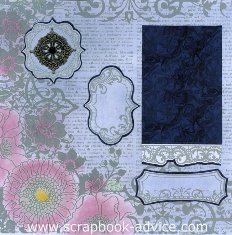
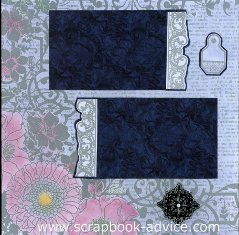
Hope you have enjoyed this little Direct Ink to Paper Tutorial and that you can practice some of this yourself. It's even easier than coloring and makes a stunning scrapbook page or card front.
Go to the Color Me Paper Store from Scrapbook-advice.com
Check out our other Scrapbook Tutorials
Go back to Home Page for scrapbook advice from Direct Ink to Paper Tutorial


