Hand Painted Background
Tutorial
and Michael Strong Cloisonne Stamps
for More Chirstmas Cards
Here's a Hand Painted Background Tutorial and some more Christmas Cards made using Michael Strong's Cloisonne Rubber Stamps. These were made with the Christmas Tree and Star Stamp sets and Michael's technique for a beautiful Christmas Card Hand Painted Background
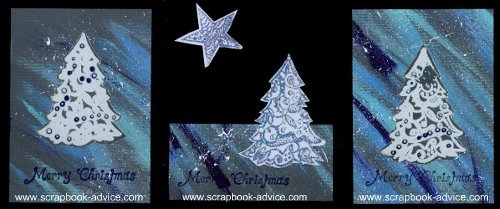
Free Scrapbook Background Pages
A little recycling done here of some older plain Scrapbook Cardstock and some paint samples left and you can make your own Free Scrapbook Background Pages for your Scrapbooking and Card Making. This is a great way to breathe new life into some older items and use up some of your stash.
The Background papers were made using Card Stock in 3 blue colors and 4 colors of paint, 2 blues, 1 silver and 1 white. But you can make up to 10 cards with one background sheet and you need only a teaspoon of paint of each color. I would suggest using 2 or 3 Coordinating Colors, one metallic and white.
Background Paper Tutorial
Supplies List* Card Stock
* Paint in 3 colors
* White Paint
* Foam Craft Brush or small Paint Brush - at least 1 inch wide.
* Firm Bristle Brush like a tooth brush or fingernail brush
(not to be used for it's original purpose after painting with)
* Craft Sheet for protecting your surface or paper to protect work surface
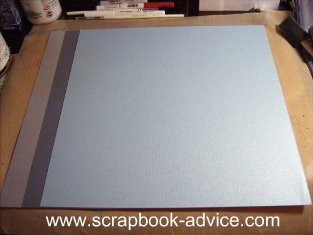
Here are the three colors of Card Stock used to make these background papers. I was thinking this would make a night sky or snowy sky background for winter themed cards.
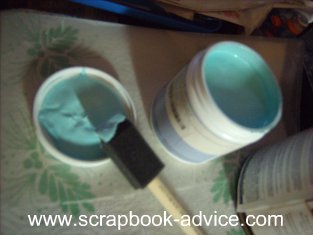
Step One of the Hand Painted Background Tutorial
Starting with the lightest color of paint.
Like I said, you don't really need much paint. Here I used just what was in the lid of the sample jar after I shook it up. I put a little on the end of a craft brush, but a regular paint brush will do just as well.
Technically this is a dry brush technique, so put a little on the brush and tap the paper towel to get most of it off the brush.
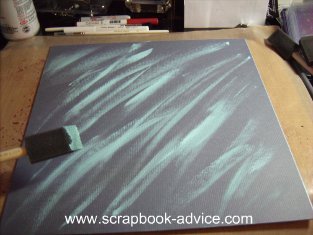
Drag the brush across the paper to put some of the paint on the paper covering only partially to let the background paper show through.
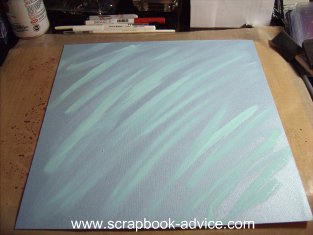
Here is the first color of paint on the next color background sheet.
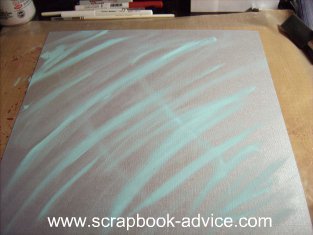
And on the third color background sheet.
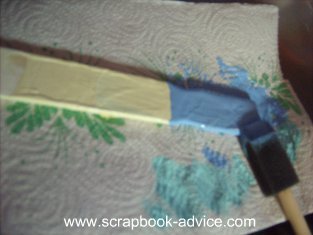
Step Two of the Hand Painted Background Tutorial
Here I used the paint that was left on the stir stick from a larger can of paint left over from a house project.
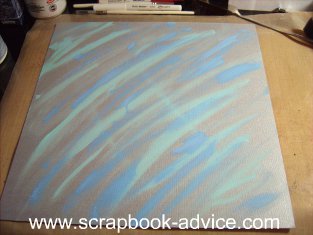
Same Dry Brush Technique using the second color.
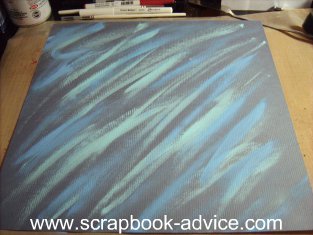
Second color on the second color background paper.
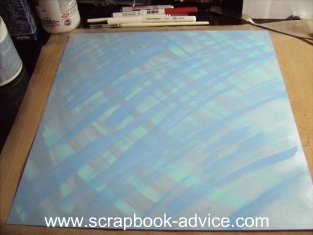
Second color on the third background sheet, but painting in the opposite direction.
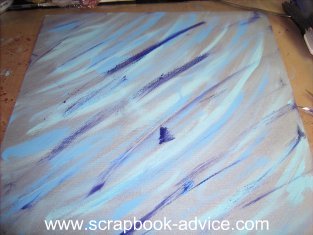
Step Three of the Hand Painted Background Tutorial
The darkest blue color of paint was the put on the first paper.
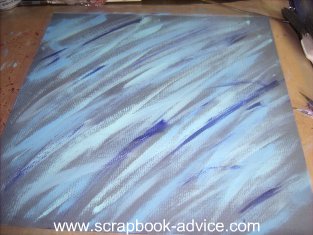
The darkest blue put on the second background.
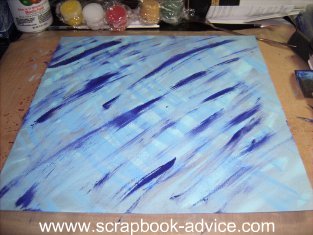
The darkest blue put on the third background. These examples are shown to indicate that there is really no wrong way to do this as they all show variations in technique.
I tried also using some silver spray paint sprayed into the lid of the can and painting that on, but it dried a little too fast for even the dry brush technique.
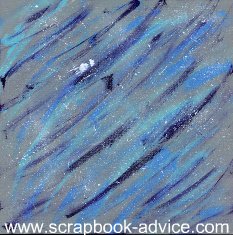
Step Four of the Hand Painted Background Tutorial
The last and final step to completing the Background Paper is to use a brush to spatter the white paint onto the background. To me this makes it look like stars in the night sky.
Scrapbook-advice.com Tips: I used an old toothbrush, but it was a little soft and you can see the white smudge it made on my first try. I would suggest practicing this part of the technique and be very careful that you don't spatter your clothes and the surrounding area. Put your paper in the bottom of a cardboard box to do this or maybe outside on some news paper and point the brush away from you.
Let the paint on the project dry.
Cut into card fronts and pieces to be used both on the inside outside of the cards.
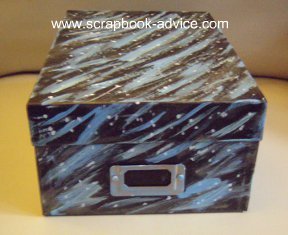
Well, I just couldn't resist. I had some left over paint and a black photo file box that I had just purchased from A.C. Moore for about $5.50 and so I tried the Background Paint Technique on it as well. The paint colors were from a paint job a while back in the master bedroom so I guess that's where the box will reside.
But not a bad idea for an inexpensive Holiday gift.
Click here to check out some other
Home Decor with Scrapbook Supplies.
Hope you have been able to understand our Tutorial for the Background Paint Technique adapted from the Michael Strong Card Making class originally taught at the 2010 Club Scrap Retreat.
More Chirstmas Card Making Ideas using Michael Strong Cloisonne Stamps
Check out one of our Readers Gallery Entries using this
Painted Background Techinque
Try this technique and Post Your Own Version to the Michael Strong Gallery
Check out our basic Quick Start Guide for Hand Made Cards
More Christmas Card Making Tutorials
to use for all year long.
Check out our Other Scrapbook Tutorials
Go back to Home Page for Scrapbook Advice from
Hand Painted Background Tutorial


