Alcohol Ink
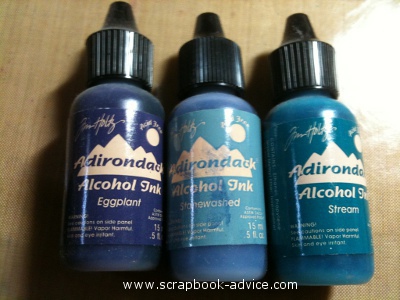
Tim Holtz® Adirondack® Alcohol Inks
& Metallic MixativesAdirondack Alcohol Inks work best on metals, clay, glass, plastics, and glossy cardstock (not photo paper). Basically, any non-porous surfaces, but can also be used on fabrics and canvas. These are made by Ranger, under the Tim Holtz name. They work amazingly well on anything non-porus like Glass, Metal, Plastic, and Glossy Cardstock, but try them on some white silk flowers for a stunning look with brilliant colors. Then add some of the blending solution for a totally new look to make the colors softer and blend more. You can Use them direct onto surfaces, but the best results come when you use them with the alcohol Ink applicator or blending tool, and the felt pads that attach to the Velcro base on the applicator.
Check out our Alcohol Ink Store to purchase these great products.
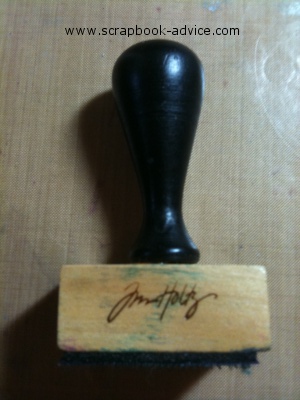
This is my well used Ink Applicator or Blending Tool
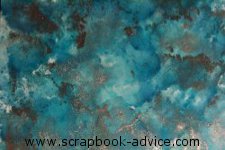
Three colors of Inks plus a little Silver Metallic Mixative
on a piece of Glossy Cardstock.
My first purchases of these great Inks were the 3-color kits that are beautifully matched and always blend well together. But often I just use my own favorite colors, depending on the project.
Alcohol Inks On Glass
Here are couple of household items I have made using the Alcohol Inks.
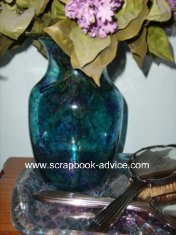
This first is a very inexpensive glass vase that started out clear when it came from the grocery store with a small bunch of flowers. I played with 3 colors of the inks that I thought matched the colors in my draperies, applying 2 of 3 drops of each color of ink to the felt pad on the applicator.
Then I dabbed the applicator to the outside surface of the glass vase until I was pleased with the results. In just a few seconds the inks were dry, then I added a drop of Silver Metallic Mixative to the applicator & dabbed that onto the vase. Finally, I added a little Blending Solution to the applicator & dabbed the Silver to get that to blend with the rest of the colors.
Alcohol Inks On Plastic
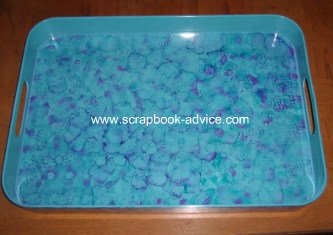
Here again, I picked 3 colors that went with Aqua and applied them to the applicator and then onto the inside surface of the serving tray.
Here is the tray as it is used for serving drinks in the summer, but below that is another photo of the tray used for a holiday arrangement.
I have also used these inks on another clear plastic tray and tissue box and they are much prettier than the original finish.
On Holiday Decorations
I had these very inexpensive Christmas Decorations - these large snowflakes - that I wanted to hang in the trees outside. nbsp;But, I wanted them to look a little different from most, so I colored them with these Inks & they have withstood the weather outside for 2 Christmas Seasons. Note: To be fair, I live in a very mild climate, and there has been no snow or wet weather, so I can't testify to how they would hold up in severe winter weather. It might not hurt to spray a clear coating over them for use outside.
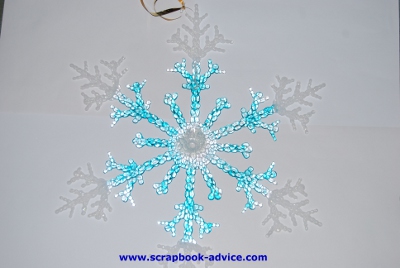
Adirondack Inks - one color - on plastic snowflake
Alcohol Inks On Crystal
I have also used the inks to color some crystals on a chandelier. The crystals that came with the chandelier were clear and amber, but the amber did not go with the colors in the room, so I colored the clear ones with the same colors I used on the vase.
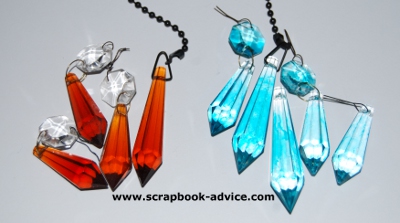
Alcohol Inks used on Chandelier Crystals
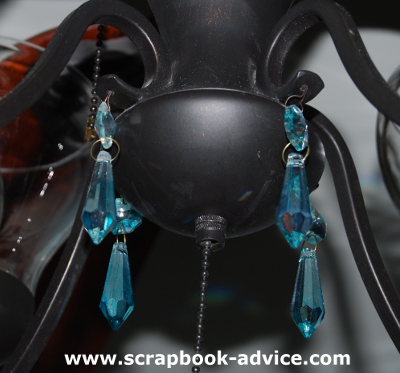
Inks used on Chandelier Crystals
Alcohol Inks On Leaded Glass
I have a front door with a clear inlaid or leaded glass center. I love the door, but someone from the outside can see right it, so I played with that as well using the inks and I was able to put enough of the color on the front door and combine it with the Gold Metallic Mixative to match the leading, so that the light still comes into the room, but it blocks the view of someone outside the door.
I would suggest playing with these Inks first and learn to use your Blending Solution to remove the ink colors as well, so you don't ruin the glass in your door.
Alcohol Inks on Fabric or Silk Flowers
The inks can also be used on Silk or Fabric Flowers. I prefer to use on white flowers, but you can use any color you want and just add some complementary colors of inks.
You can either hold the flowers and drop the ink directly on them and then drop on some of the blending solution to help the colors blend even more, or you can drop the ink on a craft sheet and swirl the flowers around in the ink. You can use the Blending Solution either with the ink on the craft sheet or separately, or not at all.
The more Blending Solution you use, the less color your items will have.
Alcohol Inks on Glossy Card Stock
I have also used these on Glossy Card Stock to make some cards and I just love the way the colors seem to float around on top of the card and blend. They talk a little less time to dry on the glossy card stock than on glass, metal or plastic. Use them sparingly on the card stock as it can warp if the card gets too wet.
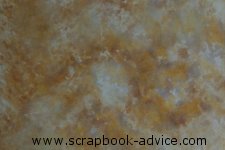
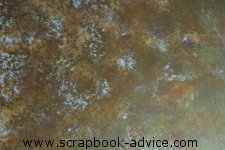
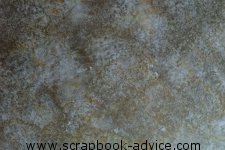
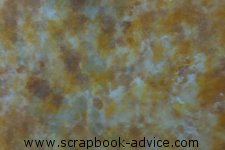
These 4 samples were all made from the same three colors of Carmal, Latte and Butterscotch, plus some Gold Metallic Mixative.
Adding more of one color, or adding more blending solution, changes the final outcome. No two will ever be alike!
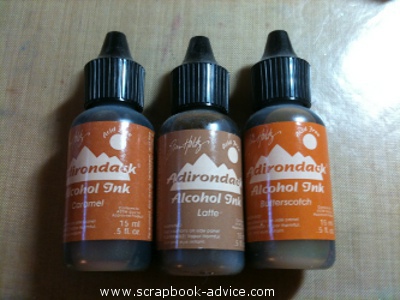
Adirondack Inks in Carmal, Latte and Butterscotch
Alcohol Blending Solution
The Alcohol Blending Solution is used to help the colors blend together, and also to make the colors lighter and lighter. The more you use, the lighter they get.
the way, just to let you know, if you make a mistake, or just don't like your colors or they way they are blending, you can use a little more of the blending solution and remove the inks altogether and start over. Not recommended, however, for card stock as it may warp.
Alcohol Ink Kits of 3 Colors
Adriondack Inks in the original kits of 3-ink colors, are available in 16 different kits. Each kit has it's own name, with 3 individual .5 oz bottles of ink that are coordinated. It may not seem like a lot of ink, but you only use these 1 drop at a time. They go a long way and are worth every cent.
Individual Alcohol Ink Colors
While I prefer purchasing the 3-bottle kits, I do have my favorite colors and it's nice to know when I run out I can purchase only the Individual Ink Colors that I need.
Metallic Mixatives
There are 4 of the Metallic Mixatives of Silver, Gold, Pearl and Copper. You can purchase them separately or in pairs: Gold & Silver together, and Pearl & Copper together. They are a little cheaper when purchased as a kit. I have managed to use one of these with each of my Alcohol Ink Projects.
Snow Cap
The latest in the Alcohol Inks Line is the Opaque White Snow Cap which was just released at the July 2011 CHA. Mixed with the various colors of Inks, they become opaque and pale. I can't wait to get some of the Snow Cap, to try on some ornaments I want to make for some greeting cards.
Ranger Glossy Papers
In our Alcohol Inks store below, check out the Glossy Papers from Ranger to use the inks and Glossy Card Stock for your card mkaing.
Memory Glass Slide Mounts & Memory Frames
Finally, the Memory Glass Slide Mounts and Memory Frames to make jewelry pieces for your mini art work. Sandwich your are work between two pieces of Memory Glass, either Clear or Frosted, and place them into a hinged Memory Frame in one of 4 sizes and three finishes, Polished Chrome, Antique Copper and Black Patina. There is a jump ring attached to each Memory Frame so you can wear your protected art work.
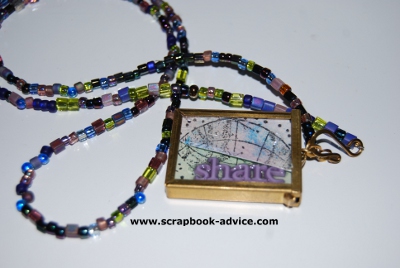
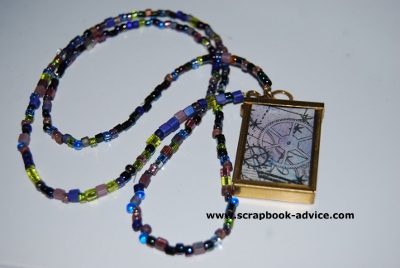
Here the front of the pendant has a little purple and blue ink that was added to the glass slide and then had a drop of the blender dropped on it. The front glass was pressed against the back of the slide which shows in the next photo.
Check out the Alcohol Ink Store
or The Alcohol Ink Tutorial
Check out other Scrapbook Tutorials & Techniques
Home Page for Scrapbook Advice
|


