|
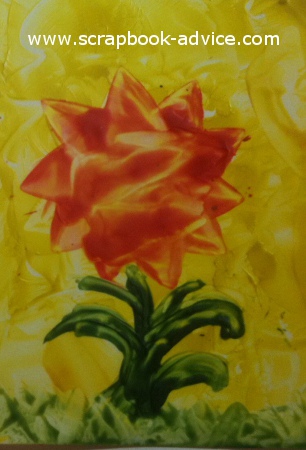
Encaustic Wax TutorialI recently got some tools for working with Encaustic Wax and I am providing this Encaustic Wax Tutorial and a review of the products I used.
What is Encaustic Wax painting?First of all, what is Encaustic painting or Hot Wax Painting? Well the word Encaustic means to "burn in" from the Greeks and this is done by applying hot pigmented wax. Hot wax painting was originally developed by the Greeks as they used hot melted wax to fill in the cracks of their ships. Color or pigment was added later and then used to paint pictures.
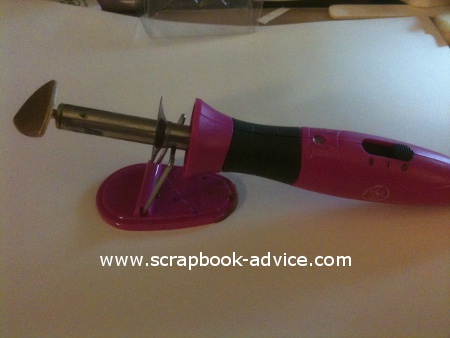
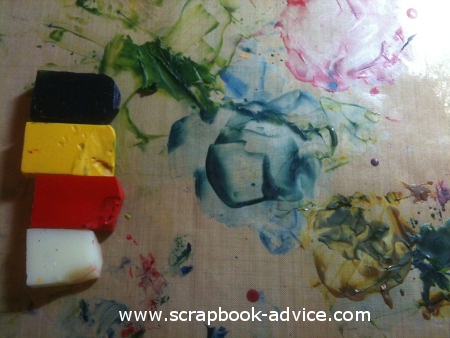
Encaustic Wax Tutorial - Tools You Will Need*Encaustic Wax in several different colors *A Craft Iron specifically to melt the wax - Travel Iron size but with no steam holes. *Card stock I found the glossy finish to work better than matte finish, but I tried it on both *Scratch paper *Facial Tissue - smooth, not paper towels *Craft Sheet I found this particularly useful as I started mixing my colors to make other colors and used the craft sheet like a pallet. I also put a pad of paper underneath to protect my desk top.
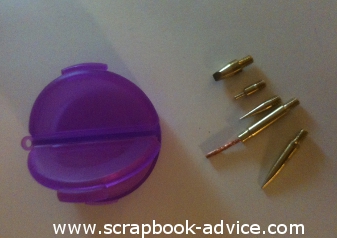
Also included is the little tip storage container - very handy!
Encaustic Wax TutorialStep 1. Lay out your work area. Remember you will be working with hot colored wax. You will need to cover your table top with a magazine or pad of paper to protect against both the heat and the color from the wax. If you have a Craft Sheet, that goes next, then some type of scratch paper - I used old phone book pages to catch the excess melted wax. Then your paper or card stock that you will be painting on. Use a glossy finish card stock for your first tries on this. I have attached some great videos by John Vandebrooke put together for Expert Village which are wonderful and will help you learn this old/new art form of hot wax painting.
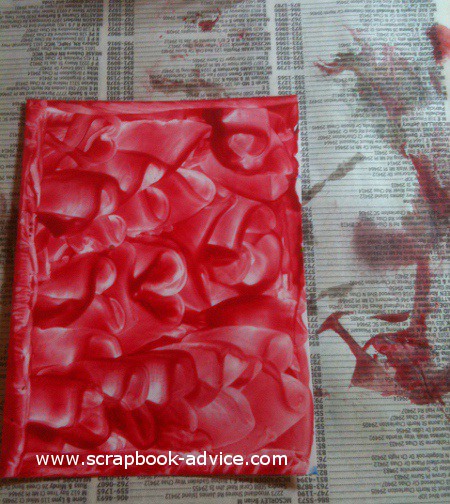
Step 2. Have your tissue handy, your wax blocks on the right if you are right handed and your Craft Iron heated up and also on the right side. If you are a lefty, it will be easier to put the wax and craft iron on the left side. Step 3. When your Craft Iron has heated up, carefully rub one of the colors of wax onto the flat surface of the Iron. The wax may drip off some (thus the scratch paper). Step 4. Holding the Craft Iron horizontal with the card stock, lightly drag the Craft Iron across the surface of the card stock. You are not ironing wrinkles out of clothes, but layering hot wax. The wax will slide off onto the paper as you move the iron and the designs will vary according to how you move the iron. Step 5. When using the small size Craft Iron, like the one I got from Purple Cows, you will need to reload your iron with more wax to cover the card front. I found it helpful to melt a little puddle of wax - 3 to 5 drops - onto the Craft Sheet like paint onto an artists pallet. That made loading the Craft Iron a little easier and faster. Also a great way to mix colors which I had to do since I only had blue, red and yellow, plus clear. Once I mixed the wax, I could be sure that each trip back for more wax would be the same color.
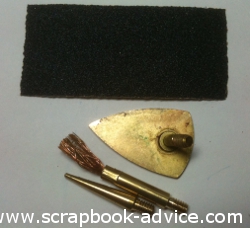
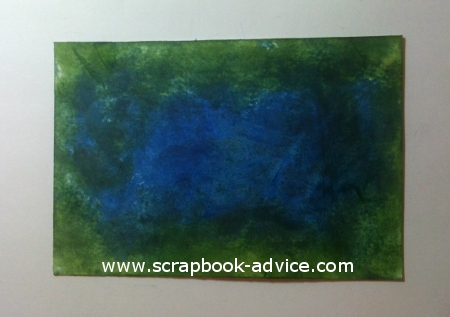
Supplies Used for Encaustic Wax PaintingTake a look at this Encaustic Wax Tutorial video to see how this Craft Iron can be changed out and also to see the great selection of waxes. I enjoyed this experiment so much, I can't wait to get more colors than just the three colors I started out with. Encaustic Wax Painting on Different Surfaces like Matte PapersAll the previous images you have seen here have been done on Glossy Paper. I used Ranger Inkssentials. For these images, I used regular matte scrapbook paper. I found that the wax was absorbed into the paper and did not give the wonderful marbling that the Glossy Paper did. 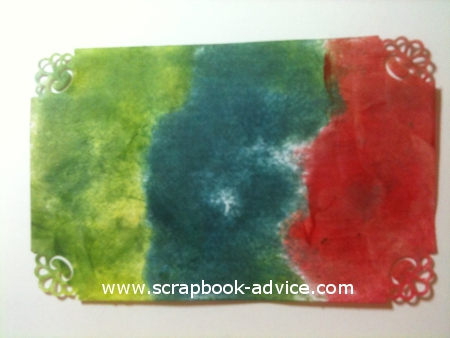
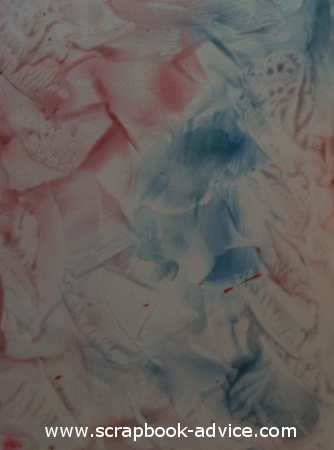
Using Clear Wax to Soften Encaustic Wax Colors.Step 6 of the Encaustic Wax Tutorial. As I only had the 3 Primary Colors of Blue, Red and Yellow, I was experimenting with mixing colors. Then I decided to mix the red and blue on the Craft Sheet with a lot of the Clear Wax. This was the result below and I just love the pastel pinks and blues.
How to Make Changes to Encaustic Wax PaintingThis art form, at least at the beginning stages, certainly seems to be quite forgiving. It allows for you to make changes just by moving the iron over the wax to remelt it, and moving it off the page.
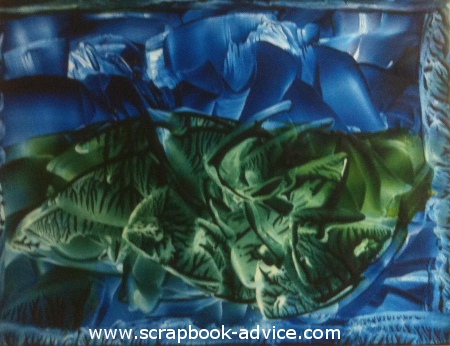
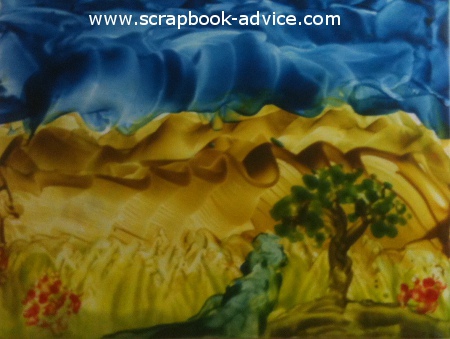
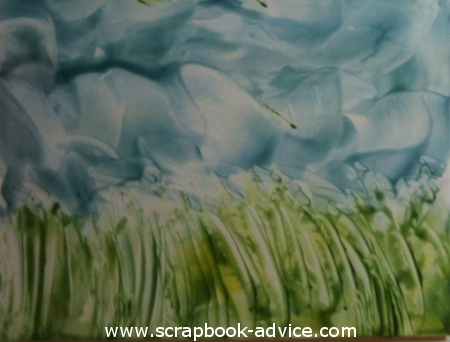
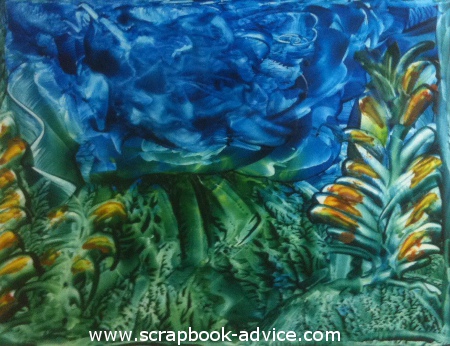
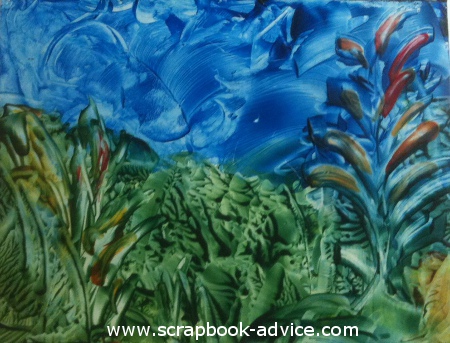
Make Your Own Encaustic WaxYou can make your own, but I am planning to get some of Mr. Vandebrooke's amazing colors from his website. How to do Landscape Encaustic Wax Paintings
How to Add another medium to Encaustic Wax PaintingsI have seen Encaustic Wax paintings that had other things embedded into the picture. For instance, a real leaf could be placed between layers of the wax, photographs, charms, laces, or I guess just about anything flat enough to be covered by the wax. Here's an Encaustic Wax Tutorial video that will give you some more ideas. How to Polish & Finish Encaustic Wax PaintingsStep 6. After finishing up your little painting, it needs to be polished with a facial tissue and coated with a wax sealer. Mixing Encaustic Wax ColorsHere I tried to mix the Blue and Red Wax to come up with a Purple. It looks much better in real life than in this photo and it beautiful. This little card was an attempt to use all the colors I had and could mix.
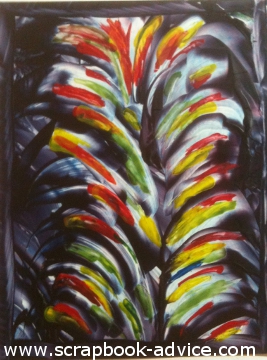
A Few More Encaustic Wax Abstracts
Check out our Encaustic Wax Store
|
Alcohol Ink Rubber & Acrylic Stamps Stencil Information Card Making Tutorials Scrapbooking Don'ts
on our Site?
More Tutorials
Photo Mattes
Cropping Photos
Photo Mosaics
Decorative Craft Scissors
Encaustic Wax Tutorial
Hand Painted Background
Pendant Jewelry Tutorial
Patterned Papers #1
Patterned Papers #2
Chalk
Glimmer Mist
Dicro Fibers
Inking - Direct to Paper
Iris Folding
Bargello
Spirella
Rubber & Acrylic
Stamps
Unmounted Stamps
Stamp Conditioning
Rubber Stamp Embossing
Rubber Stamp Tips & Tricks
Rubber Stamp Store
Michael Strong Stamping
& Embossing Videos
Stencils & Stenciling
Stencil Store
Card Making
Hand Made Cards
Card Making Ideas
Christmas Card Ideas from Michael Strong
Card Making Don'ts
Card Makers Resources
Photography Tips
Things to Avoid
Rubber Stamping Don'ts
Card Making Don'ts
Photography Don'ts
all Your Scrapbook Supplies!

scrapbook-advice.com?


