|
Scrapbook Journaling for BeginnersWe will walk you through the process, step-by-stepStep #9 - JournalingA Scrapbooking Basic
Adding the Scrapbook Journaling?Scrapbook Journaling is something you can do now or later - or just not do at all. However, I am always sorry when I go back and look at some layouts I have done that do not have any thing to tell me the basics about the photos. You know - at least the typical who, what, when, where and how. When to Do Your Scrapbook Journaling?Scrapbook Journaling does not have to be done now. If you don't have time to do it now or the muse is just not working for you now, at least jot down some notes on what you want to say and attach it to the page. You will remember more now than later. Tip: If you use a sticky post-it however, which I use all the time, don't attach the post-it to your photos or your scrapbook paper as it will leave a little residue that may not be scrapbook safe and you may have some damage later on down the line. Put that post-it on the outside of your page protector. Kinds of Scrapbook Journaling?Journaling By Hand -Scrapbook Journaling can be done by hand in your own handwriting. I have a lot of friends that don't care for this method because they don't like how their handwriting looks. If that's the case, try writing by hand using calligraphy pens and inks. Check out our page on Calligraphy Pens to get an idea of the pen types and colors available and even a book to show you how. You can practice a little to make your handwritten scrapbook journaling look great! 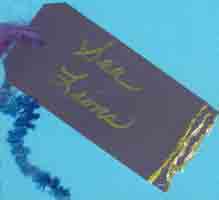
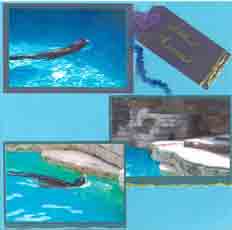
But think of it this way: If you were looking at a scrapbook that a departed family member left for you, wouldn't you find their own handwriting an important part of the layout. I'm not saying do all the journaling in your scrapbooks by hand, but at least consider this option on some layouts - maybe those layouts that are strictly about you - the Book of Me layouts. Journaling By Computer -Scrapbook Journaling can be done on the computer using any of the fonts available on your computer and you can even purchase new fonts to be added to those that came with your computer applications. There are both web sites that have free fonts and fonts to purchase that can be downloaded and there are also fonts that you can obtain on CD's from other sources that can be installed on your computer.
Check out more ideas for Fonts for Scrapbooking here. Journaling With Rubber Stamping and/or Embossing -Another interesting way to do Scrapbook Journaling is through rubber stamping and/or embossing using rubber stamp fonts. These are readily available in many sizes, mounted and unmounted, acrylic and rubber. 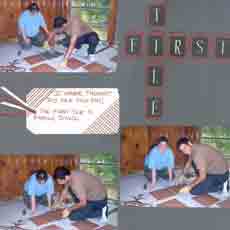
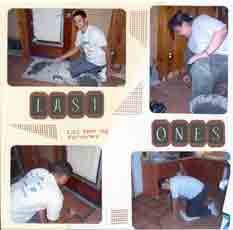
Tip: You can stamp out words or titles all together or individual letters on separate papers or letter squares, then cut them all the same size like tiles and arrange them in whatever order you want. They are much easier to space out evenly like this. Journalning With Stickers -Letter Stickers are available to purchase in all sorts of sizes, fonts, numbers, punctuation and colors. These can be used on tags, in journaling blocks, directly on the paper - anywhere you want to place your journaling. 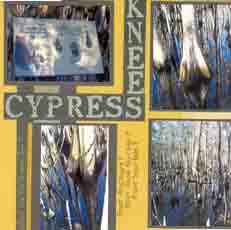
Journaling By Hand Cut Lettering -
Journaling As a Brochure, Pamphlet or Program -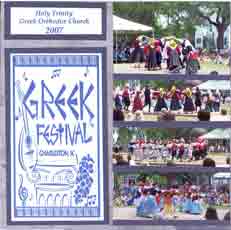
This layout was the beginning of several pages about the Greek Festival. The program was handed out at the event so I used it to provide the journaling to tell what the event was. Journaling As a Newspaper Article -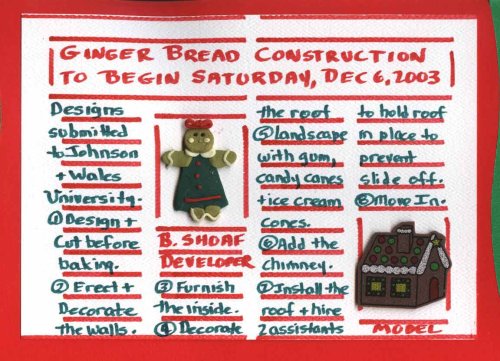
Journaling As a Photo -
Journaling as a Cropped Photo -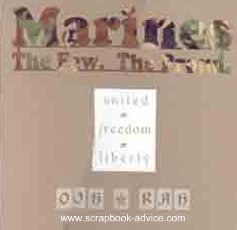
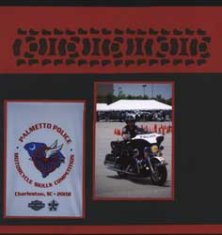
* Use a cropped photo of the pumpkin patch for a Fall title. * Take a photo of grouped Easter Eggs or decorated Cookies for an Easter or Spring journaled title. * Try a close up photo of birthday candles on a cake to crop out the number of years old. * Take a close up photo of tire tread to crop out a title for a NASCAR or any racing event whether cars, trucks, motorcycle or bicycle event. Journaling as a Purchased Embellishment -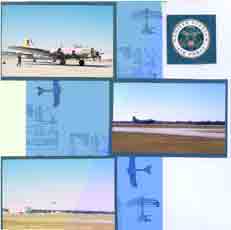
Journaling as a Pre-printed Tag -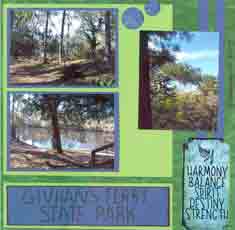
This pre-printed tag came with the February 2008 Refresh kit from ClubScrap.com as did the paper and everything else used on this layout. The text on the tag expressed the feeling for the day perfectly. Journaling s a Die Cut -Below are 2 particular Die cuts that say what you are trying to convey with your Scrapbooking Journaling in the layouts you would use them on.
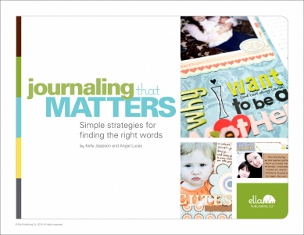
Where to Put the Scrapbook Journaling?Consider your journaling as a block, just like another photo. But these blocks can vary in size and shape. If you have a lot to journal, and want to put in a lot of detail, leave several white spaces or one large one to hold your journaling. If all you want is a title naming the event and possibly the date, leave just enough "white space" to do that. (When I say white space, I don't mean literally white - I mean blank space - the area that your photos and photo mattes are not covering.) Where to Get Scrapbooking Journaling Ideas?There's a great little e-book called "Journaling That Matters" from Ella Publishing by Angie Lucas and Kelly Jeppson that will help you find the right words for your Scrapbook Journaling.
Maybe you did some note taking during the event and you already have some things written down. Was something particularly funny at that great party - a funny story or comment that just seemed to dominate the party. Was there a particular phrase that caught your attention at a wedding reception speech? Were you on a tour of a vacation city? Did you take notes during a tour? Recompose them and put them into some journaling blocks? Do you have some information from the back of a post card that you picked up. You are using the post card in your layout - used the text from the back of the card to put in a journaling block. Did you have photos from a Retirement Party? Who was the retiree, how long had they worked there and how did they come to be employed there? Was there a fact about the person that you did not know and discovered at the event? Did you go to a graduation ceremony and hear a particularly moving speech or a single phrase that was inspiring and you want to remember it - don't forget the name of the author. Maybe you will see a billboard or a piece of advertising that catches your eye or brings a laugh that may inspire your Journaling. Like the "Got Milk" ad. Inspiration Can be Everywhere! |
on our Site?
scrapbook-advice.com?
Check them out for the Spectrum Noir Markers & Storage!
Create More,
Spend Less
at Create For Less
A Great Place to Purchase
all Your Scrapbook Supplies!
Sign up for Forums,
Great Tips,
Classes and Events.

Digital, too!
10 Easy Steps
to a
Great Scrapbook
1. Gather Photos
2. Pick Color
3. Determine Theme
4. Pick the Papers
5. Collect Basic Tools
6. Cut Photo Mattes
7. Test Fit
8. Embellishments
9. Add Journaling
10. Fill your Album
Be Careful About
or Avoid.
Scrapbooking Don'ts
Rubber Stamping Don'ts
Card Making Don'ts
Photography Don'ts
Video formats to DVD's
before they all
fade away with time!
Check out iMempries.com
Scrapbook Storage!
The ScrapRack!


